
root:Whitecap
ankit:qwerty
shuv:Class@100
more is a linux pager
locate <name>
if locate is not working the "updatedb"
suid - 4, sgid- 2, sticky bit- 1
sgid : it will be added on groups . If sgid is set then the group owner of the directory will be the group owner of all the files created under it
Syntax
chmod 2755 myfiles
sgid -> 2
-------------------------------------------------------------------------------------------------------------
check the github -> https://github.com/mindsparkist/Linux-Typical-concepts/tree/main
Boot , reboot and shutdown a system
# reboot (it
reboots your system)
# systemctl
reboot (also reboot)
# shutdown –r
+5 (reboot system after 5 minutes)
# shutdown –c
(cancel reboot)
/ schedule reboot
# shutdown –r
00:00 (it will reboot at 12 0 clock)
# shutdown – r now (reboot system now)
/ poweroff a system
# shutdown –h
now
# shutdown –h
+5 (system going down in 5 minutes)
# shutdown –P
Targets in
linux
A target is
a grouping of dependencies of configuration files
There are
multiple targets some of the targets are
multi-user.target, graphical.target,
emergency.target, rescue.target
command to
check which target a user is in
# systemctl
get-default
You can set the default target using the command
# systemctl set-default <multiuser.target>
it creates a soft link which can be found on /etc/systemd/system this location
To get into
a target a target has to be specifically
configured
Check using
# vi <emergency.target>
Check if “allowisolate” is “yes”
To go from one target to another use
# systemctl isolate <emergency.target>
Crack root password
---------------------------------
ps (list
all running processes)
pgrep httpd
– l (it combines grep and ps commands)
pgrep – u
<user> – L (pgrep – u is list the users and – l is list
the process name associated with users)
pgrep – u
username – l <vi>
pkill
<name of the process>
pkill
<httpd>
check about
the killed process
pgrep
<httpd>
kill signals
kill – l
(to get the kill signal list)
pkill – 15 or pkill – SIGTERM (SIGTERM clean termination)
pkill -9
(SIGKILL immediate kill the process)
pkill – 18
or pkill – SIGCONT (stops the process so we can start it again)
jobs
command prints current running processes in the background
# jobs
After the jobs
commands if you want to stop a process listed in the job
Kill
-SIGSTOP %<1>

List all
the system running process
# ps aux
Use grep
# ps aux |
grep httpd
Nice
level the lower the higher priority – (-20[most fav] +19[least fav])
Check
storage
# df -h
Check nice
level for a process
# ps axo
pid,comm,nice | grep httpd
Start with
nice level of 0
# nice -n 0
<httpd>
Reinitialize
a process value using renice
#
renice -n 12 <pid>
renice every single httpd process
# renice -n
10 $(pgrep httpd)
Give a
higher niceness to a process to do current work
#
<time> nice -n -<20> <tar> -<cvf> <test.tar>
<test.file>
Command for
system load average
# w
Command for
uptime
# uptime
Command for cpuinfo
# cat
/proc/cpuinfo
How to
calculate load on a single processor
# w
Get the load
average value divide by number of processor
Top
commands
# top
Locate
and interrupt system logfiles and journals
System log
path
# cd
/var/log
# ls
Can see
logfiles in head,tail,less
Journald
tool to see all the log message
#
Journalctl
# journal
-nx (it gives running process with explanation)
But it is
temporary and located in cd
/run/log/journal/
But if we
want journald to be persistent then go to cd /etc/ systemd/ then ls to find
journal.d
Access a
virtual machine console
How to
connect to a VM
GUI :
Applications -> system tools -> virtual machine manager
Start and
stop vms
Be root
# virsh
(virtual machine manager)
Virsh #
list - - all
Virsh# shutdown <vmname>
Virsh# start <vmname>
https://www.redhat.com/sysadmin/virsh-subcommands
check start
, stop networking services
#
Securely
transfer files
scp
https://www.tecmint.com/scp-commands-examples/
sftp
https://www.tecmint.com/sftp-command-examples/
list,
create, delete partition
to see
attached devices go to cd /dev then do ls
https://www.tecmint.com/fdisk-commands-to-manage-linux-disk-partitions/
-----------------------------------------------------------------------------------------------------------
There are 3 types of user account in linux
1 service account
2 normal account
3 administrative account
Cronjobs
https://crontab-generator.org/
https://phoenixnap.com/kb/set-up-cron-job-linux
Linux AT command
https://linuxize.com/post/at-command-in-linux/
https://www.geeksforgeeks.org/at-command-in-linux-with-examples/
date – to check date
ACL
It is used to give specific permission to files or users which dont come under user, group, other
To get acl details
getfacl filename
commands for setting ACL
ACL for user
setfacl -m u:user:rwx <target file>
ACL for user in all the files inside folders
setfacl -Rm u:user:rwx <target folder>
ACL for group
setfacl -m g:user:rwx <target file>
remove ACL for user
setfacl -x u:user:rwx <target file>
remove all entries
setfacl -b <target file>
Uid
https://www.youtube.com/watch?v=P2SIIxChZGA
chmod calculator
https://www.easyunitconverter.com/chmod-calculator
usermod command
https://linuxize.com/post/usermod-command-in-linux/
newgrp commands
https://www.youtube.com/watch?v=j_O6p4PYyqg
give execute permission to all directories and not files inside it
step 1
remove all execute permission
chmod ug-x -R filename
only add execute permission to the directories
chmod ug+X -R filename
File Permission
the owner of the file can only change permission
how to create a group
https://linuxize.com/post/how-to-create-groups-in-linux/
verify group
command
getent group
change group ownership
https://linuxize.com/post/linux-chown-command/
change file permission
https://linuxize.com/post/chmod-command-in-linux/
Simbolic link
https://linuxize.com/post/how-to-create-symbolic-links-in-linux-using-the-ln-command/
Symbolic link can link across file systems
hardlink cant link across file system
https://www.cyberciti.biz/faq/creating-hard-links-with-ln-command/
Configure system to mount file systems at boot by uuid or label
Creating a new partition
FDISK - MBR - fs not more than 2 TB
https://linuxize.com/post/fdisk-command-in-linux/
GDISK - GPT
https://linuxhint.com/gdisk-command-line-options/
Mount file system
mkfs - t <xfs/filesystem> <xvdf1/Device name>
mkfs - t <ext4/filesystem> <xvdf1/Device name>
We use different tools for creating label on different filesystems
Check uuid
blkid
Creating label for xfs file system
xfs_admin -L <label_name> /dev/xvdf1
Check label
xfs_admin -l /dev/xvdf1
Creating label for ext file system
tune2fs -L <label_name> /dev/xvdf2
Check label
tune2fs -l /dev/xvdf2
Mount command is temporary to permanently mount edit the fstab file
Using fstab - permerent
add the mount folder name
mkdir /mnt/mymount
vi /etc/fstab
to get details we use man fstab
to add using uuid
UUID=<uuid copy from blkid> /mnt/mymount xfs defaults 1 2
in the fstab file /mnt/mymount is the mount point of our device where it should be mounted
xfs is the file system
1 is the kdump option
2 is for the fsck boot order
mount everything using fstab file
mount -a
unmount everything using fstab file
umount-a
then do
df-h
mount filesystem with label
vi /etc/fstab
LABEL=filesystem2 /mnt/mount2 ext4 defaults 1 3
—----------------------------------------------------------------------------------------------------------
add new partition and logical volume and swap to a system non-destructively
check swap disk
free -m
swap space is kind of virtual memory for linux
how much swap space to use redhat recommends 2 times your memory
Khata notes docs a add
Create, mount unmount and use vfat,ext4,and xfs, file system
Create a partition using fdisk
format it with vfat,ext4,xfs
vfat is extended fat compatible with windows
mkfs.vfat /dev/xvdf1 to format with vfat
mkfs.ext4 /dev/svdf1
mkfs.xfs /dev/xvdf
if vfat is not there yum install vfat
mount using mount or fstab
to delete a partition
fdisk /dev/xvdf
d // d to delete the partition
fsck cant check against an mounted file system
to get details about an file system using fsck k
first unmount it
umount /mnt/mymount
then check using
fsck /dev/xvdf1
get details about file-system
dump2fs /dev/xvdf
label a file system
tune2fs -L mylabel /dev/xvdf1
check label using
dump2fs /dev/xvdf
get information about xfs filesystem
xfs_info /dev/xyz
add label to file system
before label pls unmount the filesystem
xfs_admin -L mylable /dev/xvdf
repair xfs file system and check consistency
xfs_repair /dev/xvdf1
—----------------------------------------------------------------------------------------------------------------------------
mount and unmount nfs or cifs file system
cifs is compatible with windows and linux machines
we use samba to configure our file server
it is a storage server working in other server room that we can mount to our client machines to use it
to configure we need to install
yum -y install samba-client cifs-utils nfs-utils
check what file shares are available
smbclient -L <file server ip>
then give samba password
mount temporarily
when we mount we mount based on share name
create mount location first
mkdir /mnt/sambaserver
mount cifs or samba
mount -t cifs -o username=shamba_username //serverip/sharename /mnt/mount_name
check using
df -h
if you get error uninstall cifs client and reinstall
mount nfs file system
mount -t nfs serverip:/sharename /mnt/mount_name
check
dh -h
mount permerently
mount samba / cifs
vi /etc/fstab
//server_ip/share_name /mnt/mountname cifs username=<username>,password=<123456> 0 0
mount nfs
serverip:/sharename /mnt/mount_name nfs defaults 0 0
to unmount network filesystem
unmount /mnt/sambashare
unmount /mnt/nfsshare
to check fstab
mount -a
check partition
df -h
—---------------------------------------------------------------------------------------------------------------------------
Create mount unmount and use vfat, ext4, and xfs filesystem
Partition the mounted disk using fdisk
format with a file system
vat is windows and linux supported
mkfs.vfat /dev/xvdf
or
mkfs.ext4 /dev/xvdf
or
mkdir /mnt/vfat
mount /dev/xvdf1 /mnt/vfat
to permerantly mount
vi /etc/fstab
/dev/xvdf1 /mnt/vfat vfat defaults 1 2
unmount
umount /mnt/svdf
check using fsck
https://linuxize.com/post/fsck-command-in-linux/
—----------------------------------------------------------------------------------------------------------------------------
Extend existing logical volume
1 create a partition – linux lvm
2 create a physical volume
3 create a volume group
4 create a logical volume
5 format using a file-system
6 mount the file system
7 write file to the disk
8 remove the disk without affecting the data
9 create a new partition
10 create a physical volume
11 add partition to the old volume group
command
vgextend battlestar /dev/xvdg1
12 move data from one physical volume to another but both of them have to be part of the volume group
command
pvmove /dev/xvf1
13 after moving the files from the volume remove the volume
command
vgreduce battlestar /dev/xvdf1
14 cd into the mount folder and check the files available
15 extend logical volume
lvextend -L 5G /dev/battlestar/galactica
check
lvdisplay
—----------------------------------------------------------------------------------------------------------------------------
create and configure set GID directory for collaboration
to check which groups user part of
groups user1
—----------------------------------------------------------------------------------------------------------------------------
Redhat networking
To get details about ip
command
ip addr show eth0
ip -s link show eth0
to get details we use
tracepath
yum install traceroute
traceroute
command
ss -atn // check listening port and connection
—-----------------------------------------------------------------------------------------------------------------------
Configure Networking and Hostname Resolution Statically or Dynamically Network Manager
check current networking device
nmcli dev status
// lo stands for loopback device
text based GUI to configure networking
nmtui
show all of our connection in current machine
nmcli con show
connection are located under
in linux a connection is a configuration and it is attached to a device
/etc/sysconfig/network-scripts/
bring up a new connection
nmcli con add con-name “my_connection” autoconnect yes type ethernet ifname eth1
we can create multiple connection for a device
one static one dynamic
show active connection
nmcli con show –active
show our connected devices
nmcli dev show
if we dont provide a ip details by default it uses a script named
ifcfg-<connection name>
by default it uses DHCP
vi ifcfg-<connection name>
check traffic
ip route
create connection with static ip
nmcli con add con-name “my_connection-static” yes type ethernet ifname eth1 ip4 10.0.0.0 gw4 10.0.0.1
down a connection
nmcli con down “mycon-static”
up a connection
nmcli con up “myconn”
use double tab in nmcli
configure autoconnect in nmcli
nmcli con mod “mycon” connection.autoconnect yes
to check if autoconnect is enabled
cat ifcfg-mycon-static
check ONBOOT=yes
delete a connection using nmcli
nmcli con del “mycon”
DNS
linux hosts file
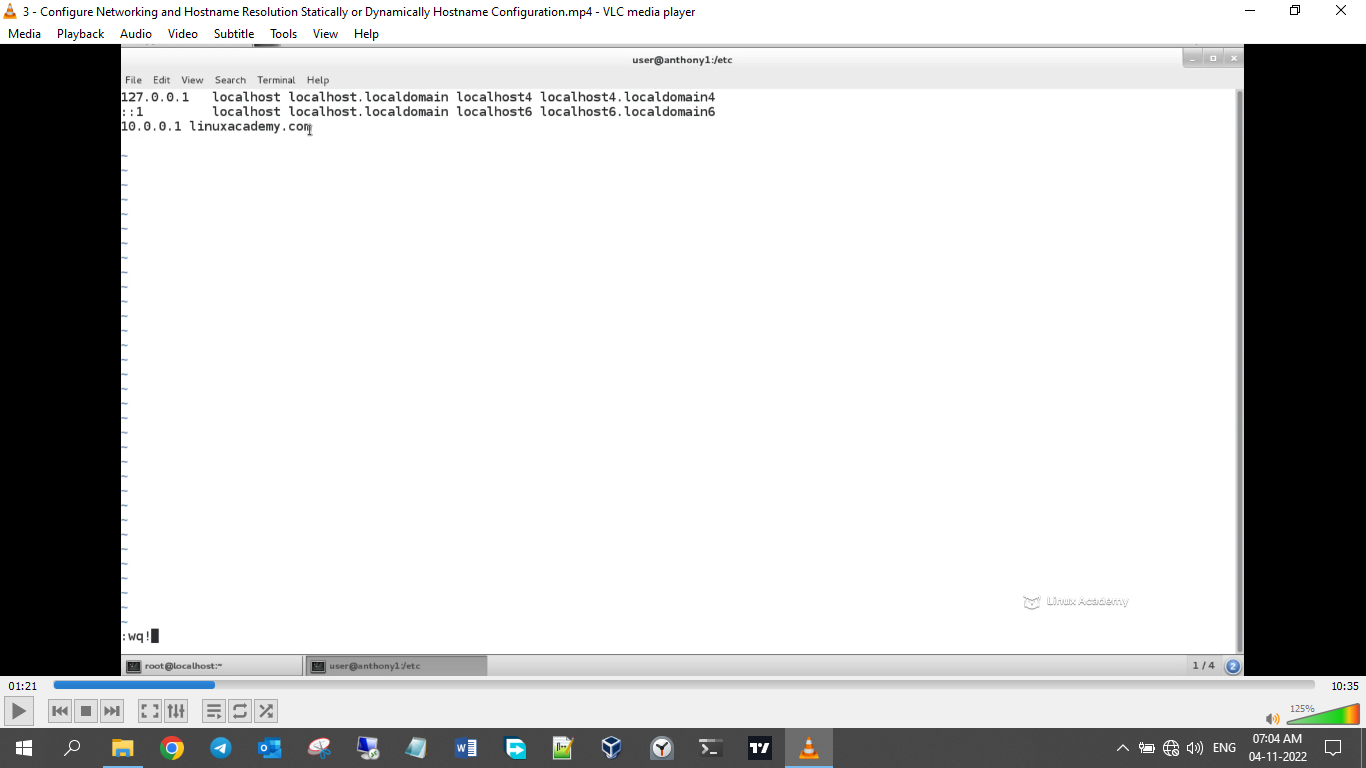
vi /etc/hosts
if we want to poison a website hosts file can do that
Check the screenshot below
DNS name server file location
vi /etc/resolv.conf
but it is modified my network manager
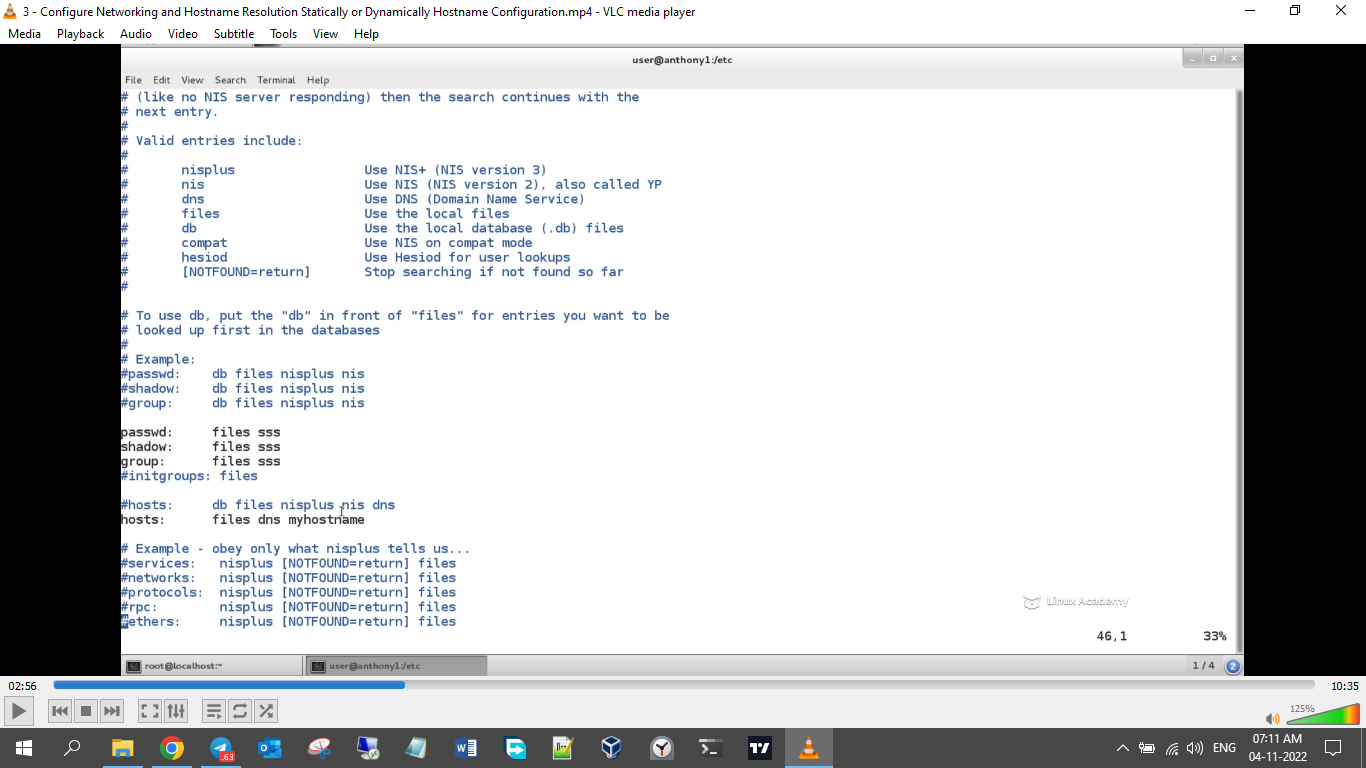
our system first checks hosts file then nameserver file to change that behavior
vi /etc/nsswitch.conf
inside the file hosts
check machine hostname
hostname
temporarily set hostname
hostnamectl set-hostname my-testhostname
check hostname status
hostnamectl status
change connection DNS
nmcli con mod “System eth0” ipv4.dns 8.8.8.8
check if the dns is added
cat /sysconfig/network-scripts/ifcfg-eth0
now we need to do a reboot
reboot
verify using
cat /etc/resolve.conf
DNS should be added
get hostname to ip address
getent hosts google.com
—--------------------------------------------------------------------------------------------------------------------------------
Configure Systems to Boot into a Specific Target Automatically

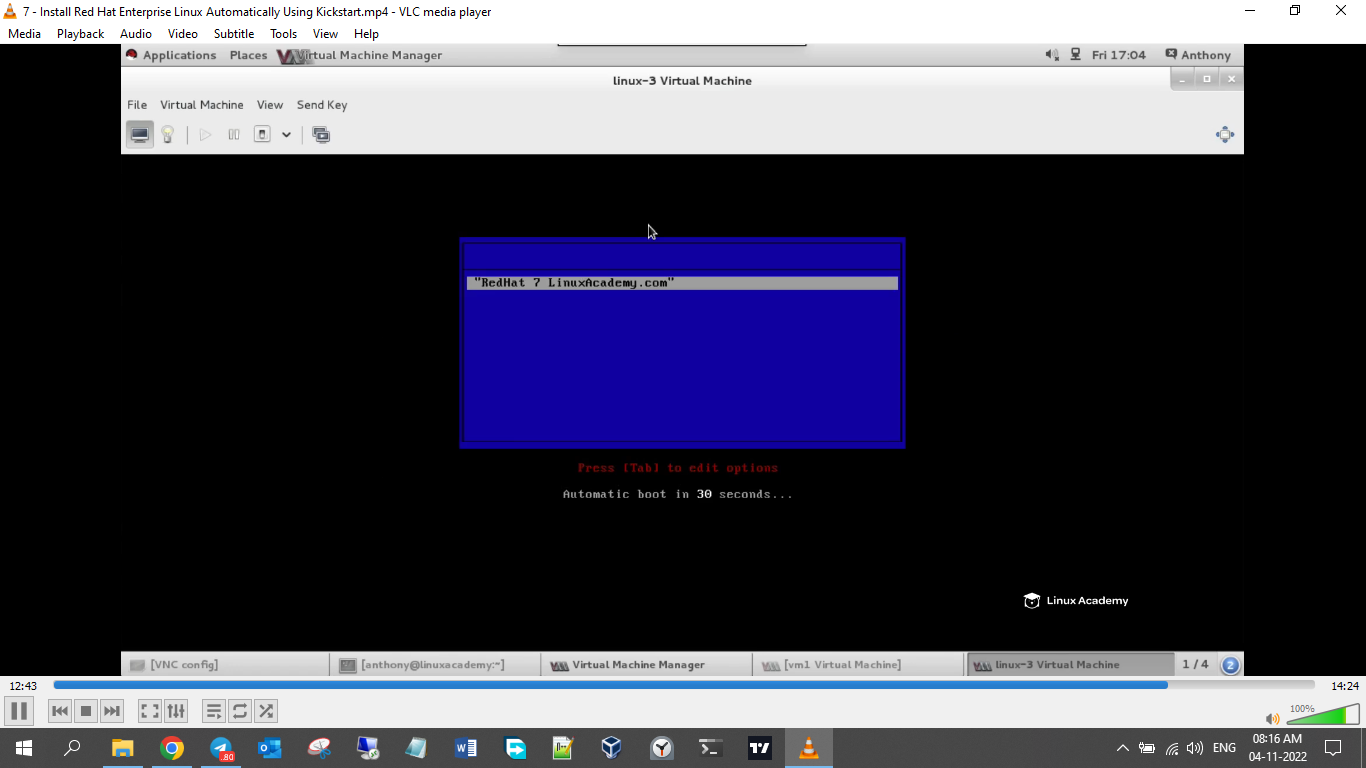
Install Red Hat Enterprise Linux Automatically Using Kickstart
Each redhat machine have anaconda-ks.cfg inside their linux root it is a file that answers all the necessary information during installation so instead of and admin setting infront of machine and setting up all option during boot this file can do that
and after installation this anaconda-ks.cfg file have all the settings we used during installation
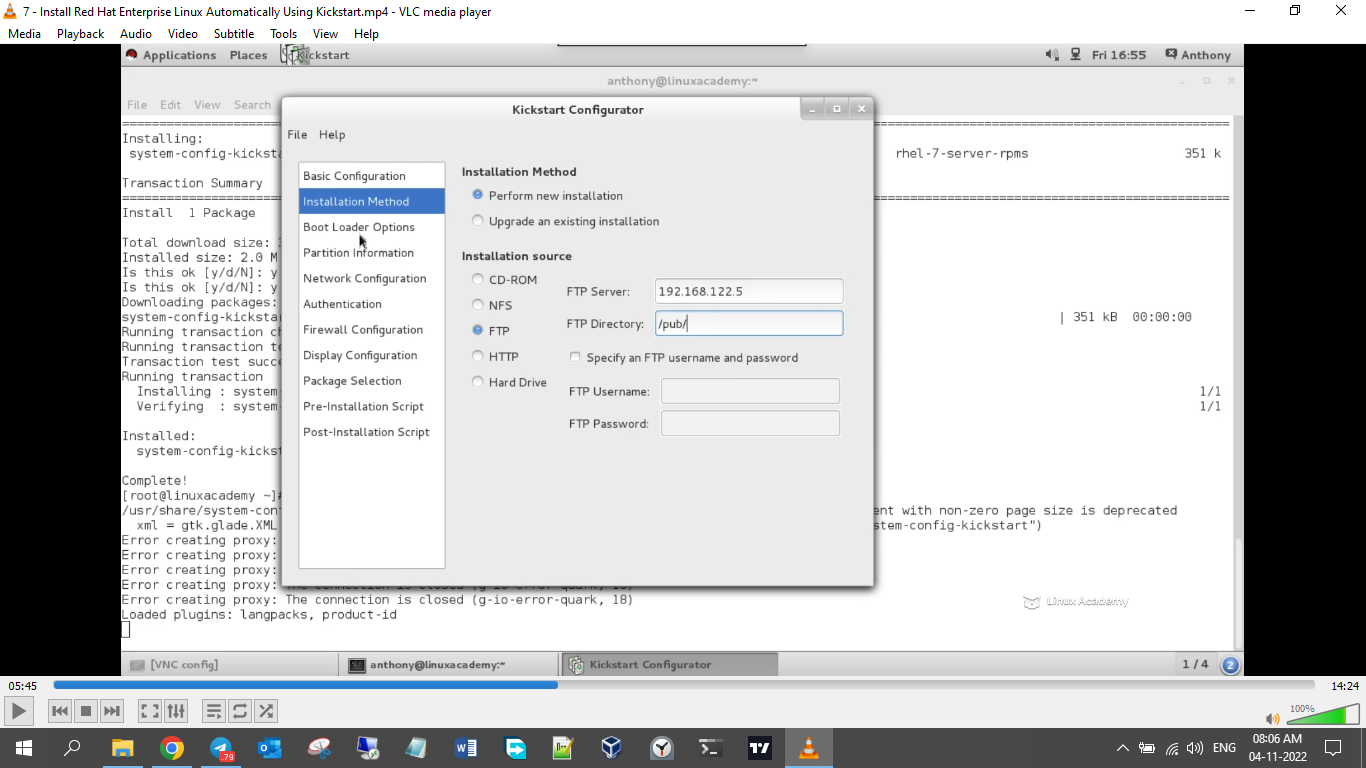
how to configure a kickstart script
first install GUI based kickstart creator
yum install system-config-kickstart
after installation
system-config-kickstart
Added root password

Added installation methhod FTP server
Boot loader

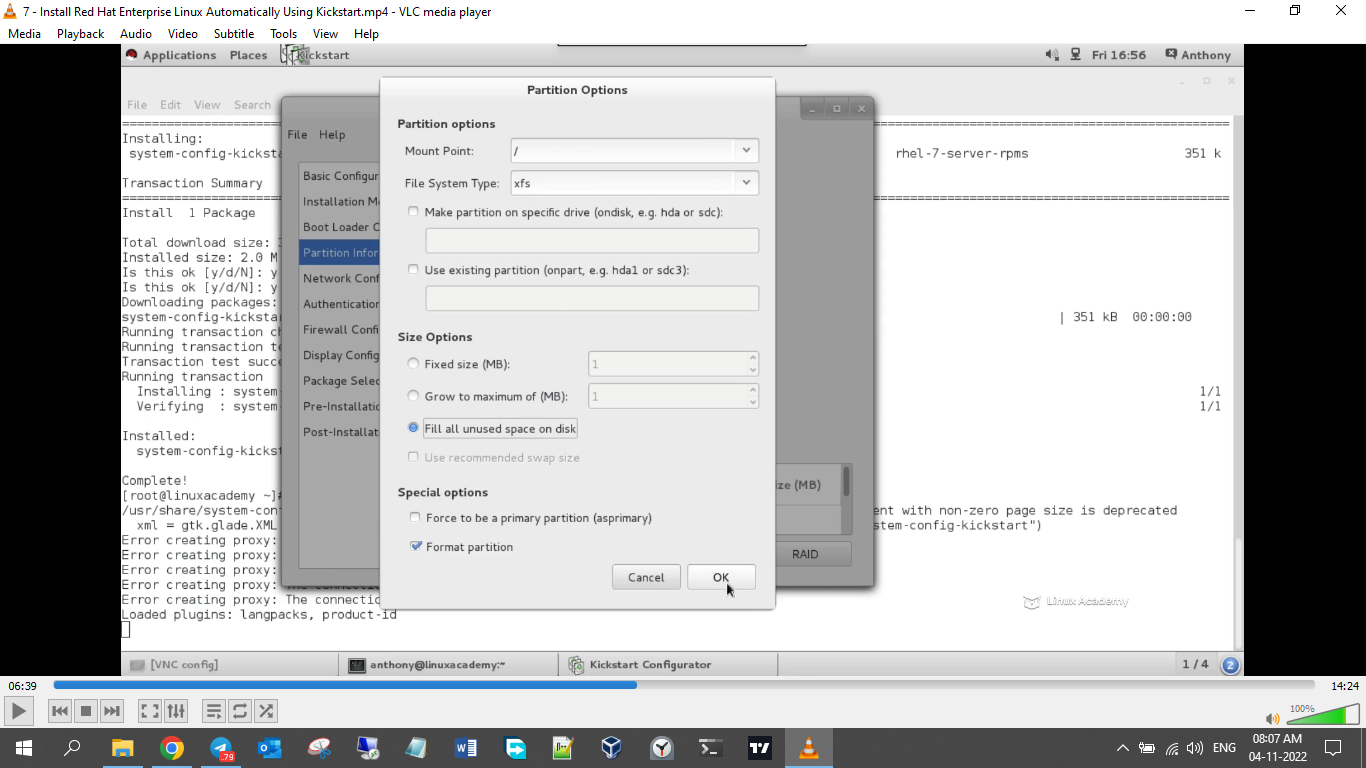
Partition info

Click on Add
/boot

Added swap
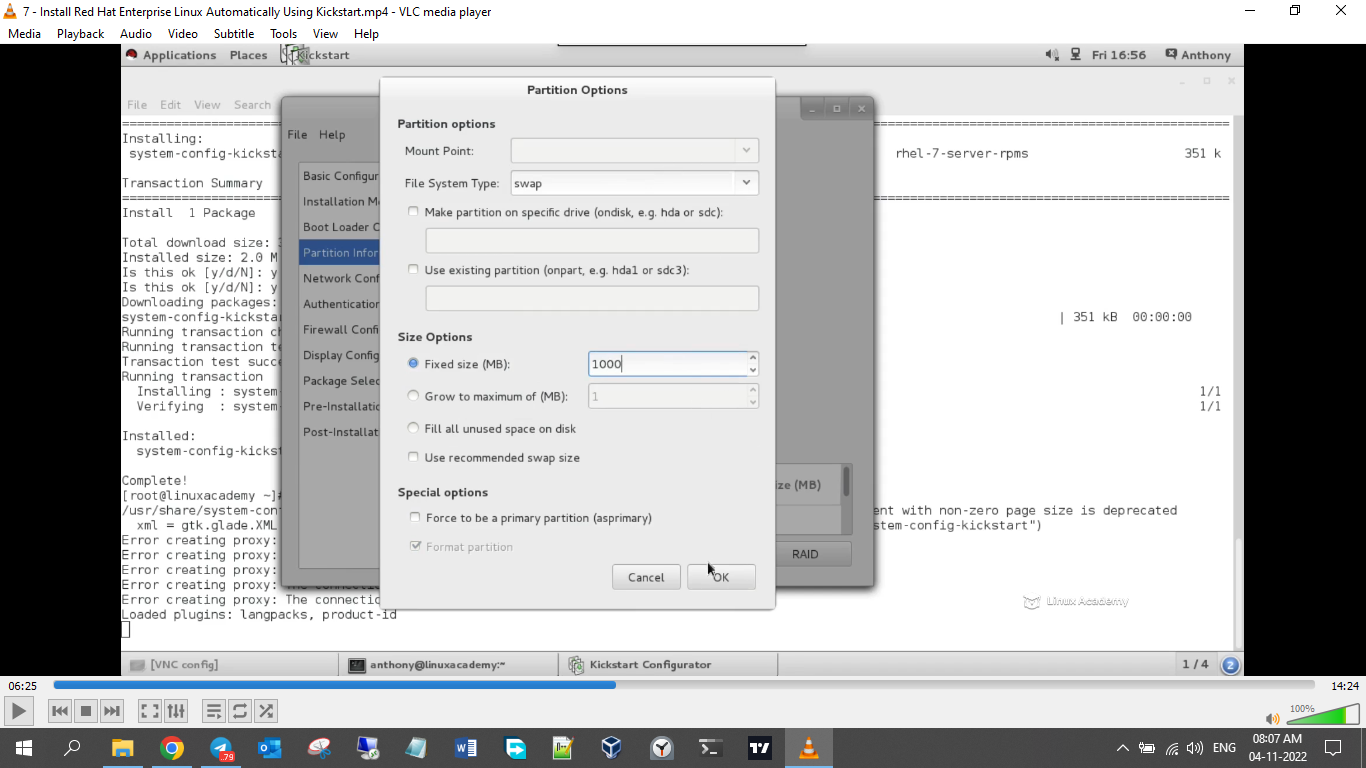
Added root
Network configuration

Authentication

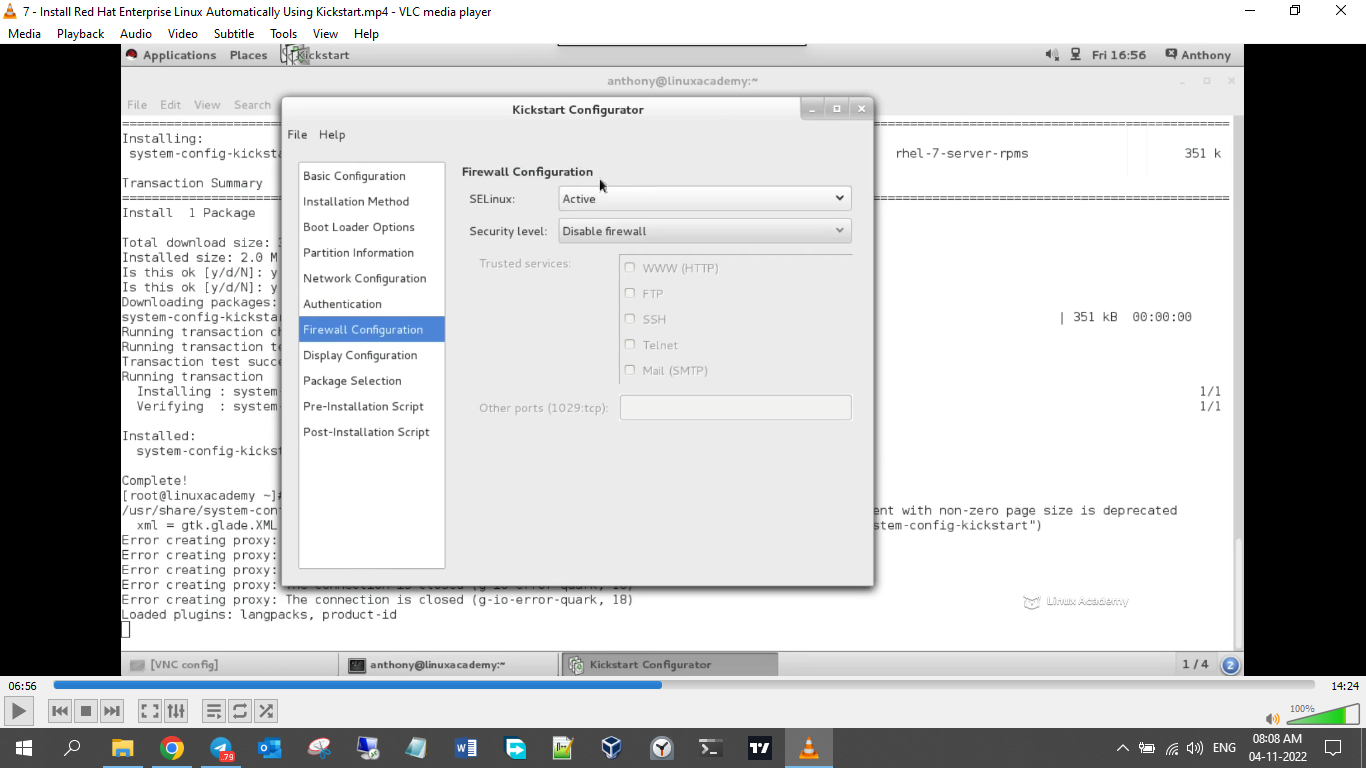
Firewall configuration
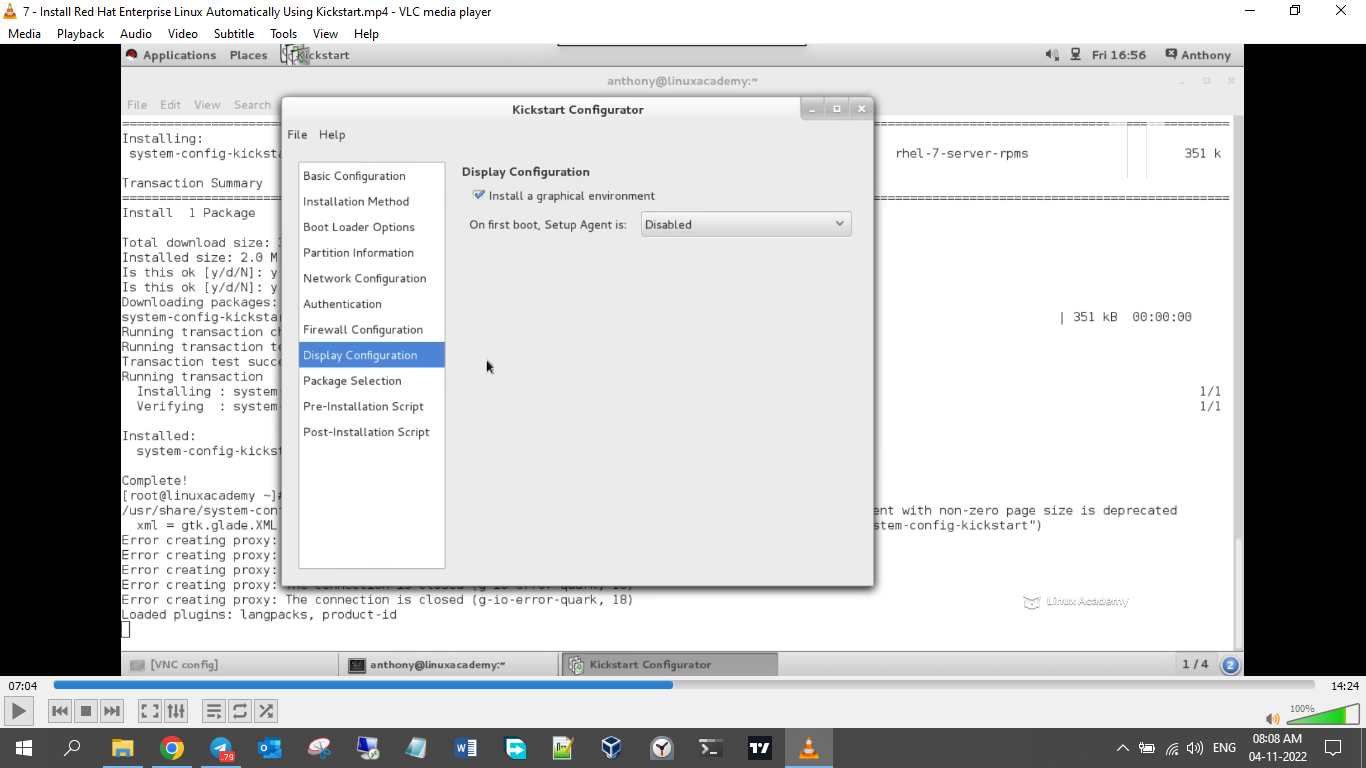
Display Configuration
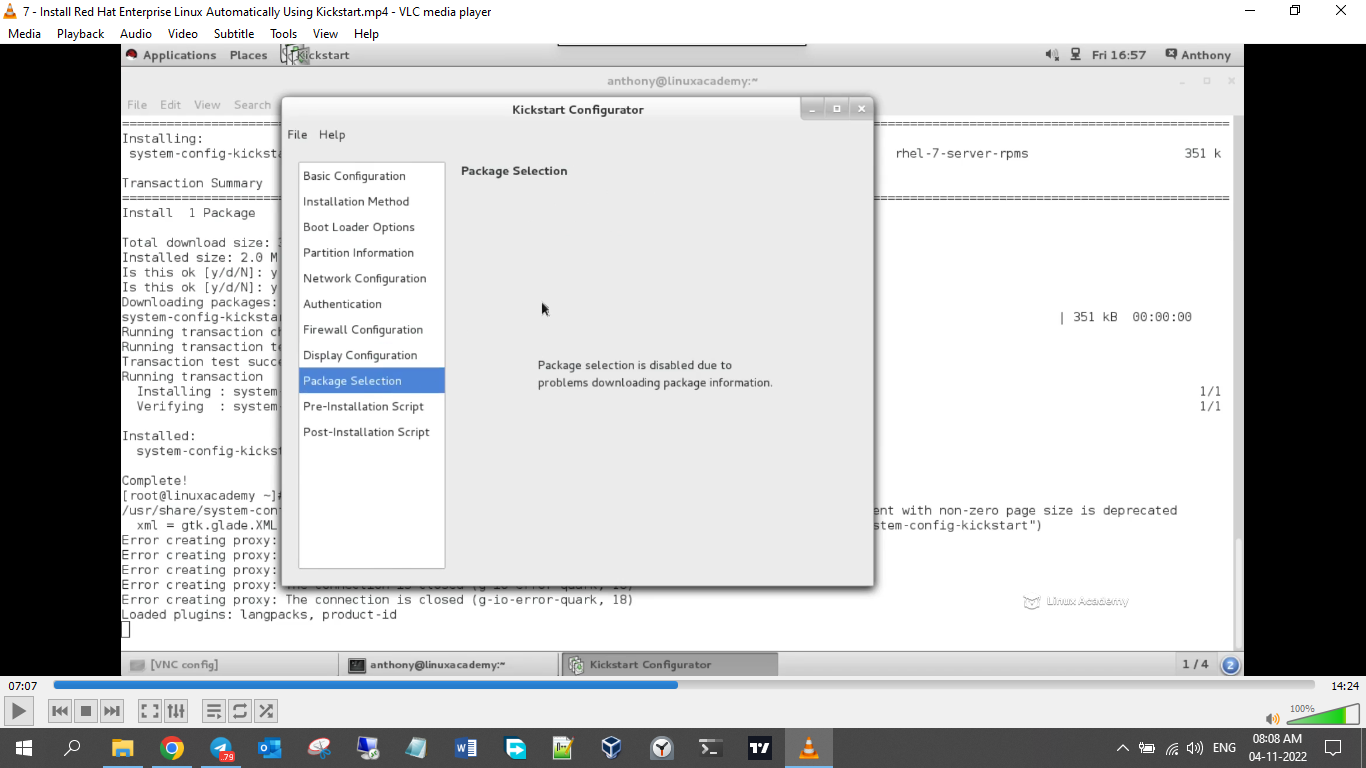
Package Selection
Pre installation and post installation script

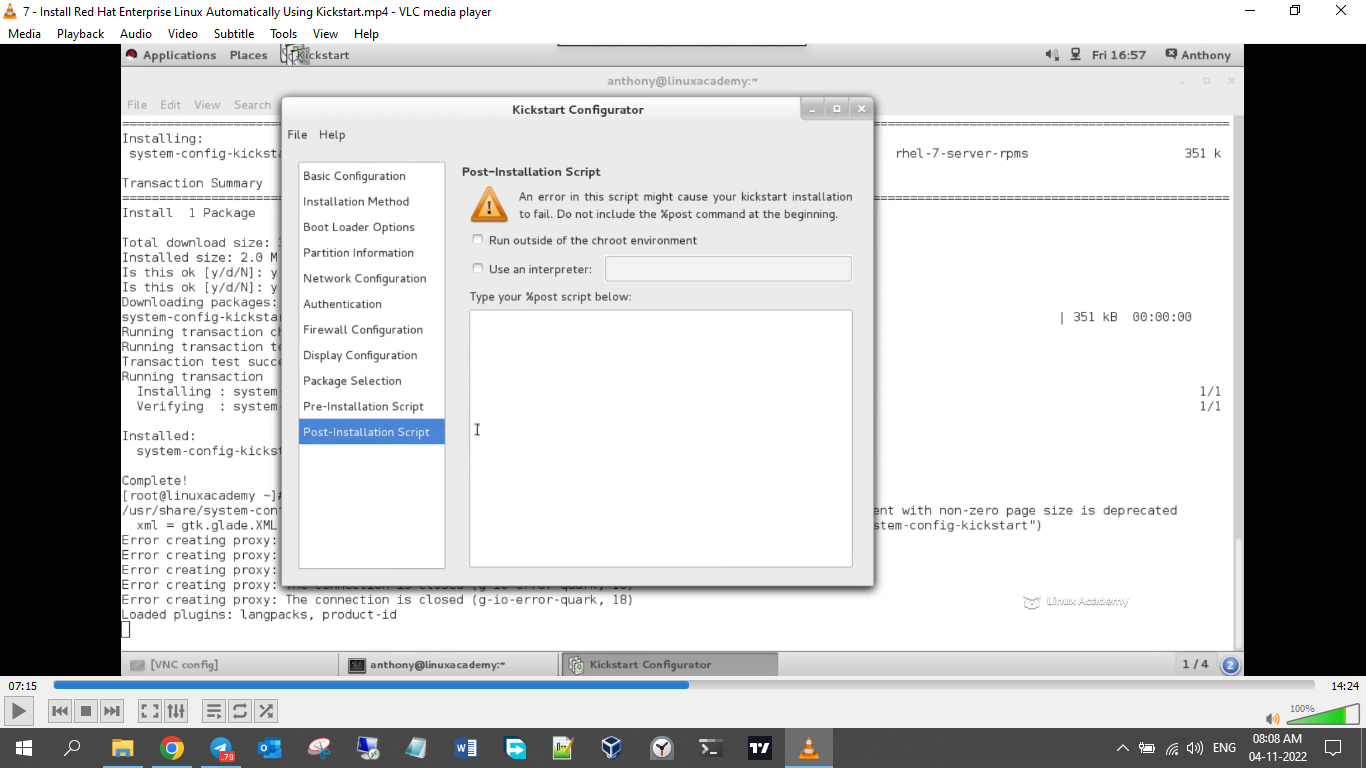
Now save the kickstart file

PXE installation
ss
find cli bsed kickstart script
rpm -qd pykickstart
then find kickstart-docs.txt
open in vim and under it there is a dummy kickstart script
—----------------------------------------------------------------------------------------------------------------------------
Configure a Physical Machine to Host Virtual Guests
to configure physical machine to host guests we have to install
yum install virt-manager qemu-kvm qemu-img
then install
yum instal libvirt libvirt-python python-virtinst libvirt-client
then enable libvirt
libvirt is the tool that we use to manage our virtual machine
and to manage our virtual machine we need to start libvirt demon
systemctl enable libvirtd
after enabling start libvirt demon
systemctl start libvirtd
how to use virsh ??
https://www.cyberciti.biz/faq/linux-list-a-kvm-vm-guest-using-virsh-command/
—--------------------------------------------------------------------------------------------------------------------
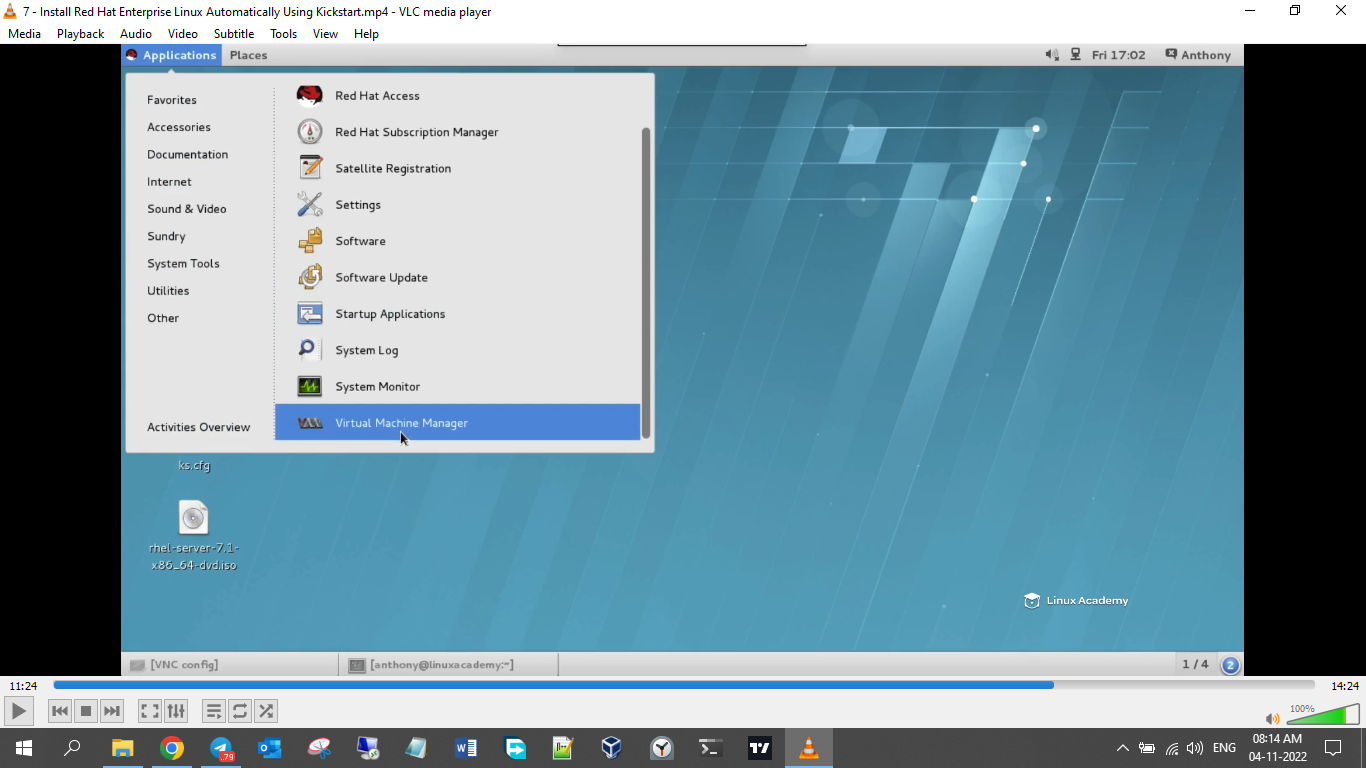
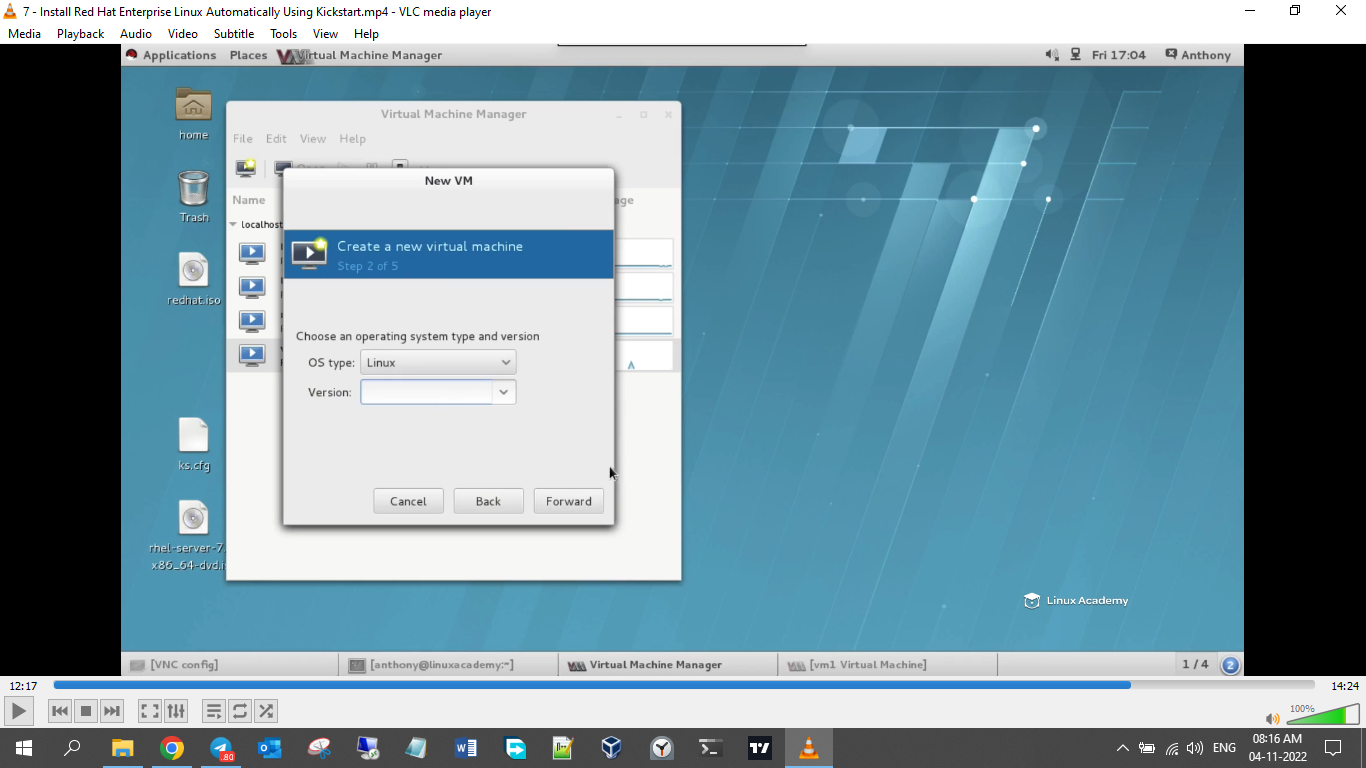
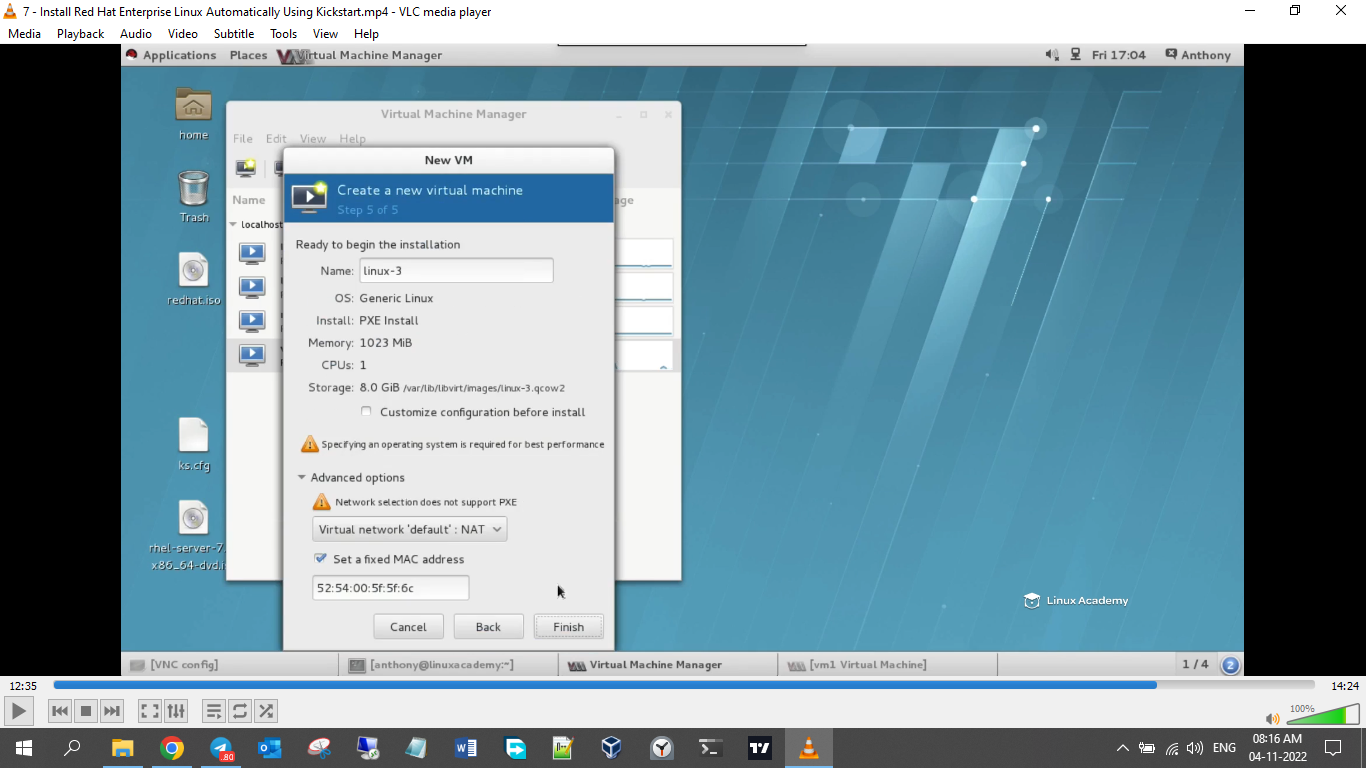
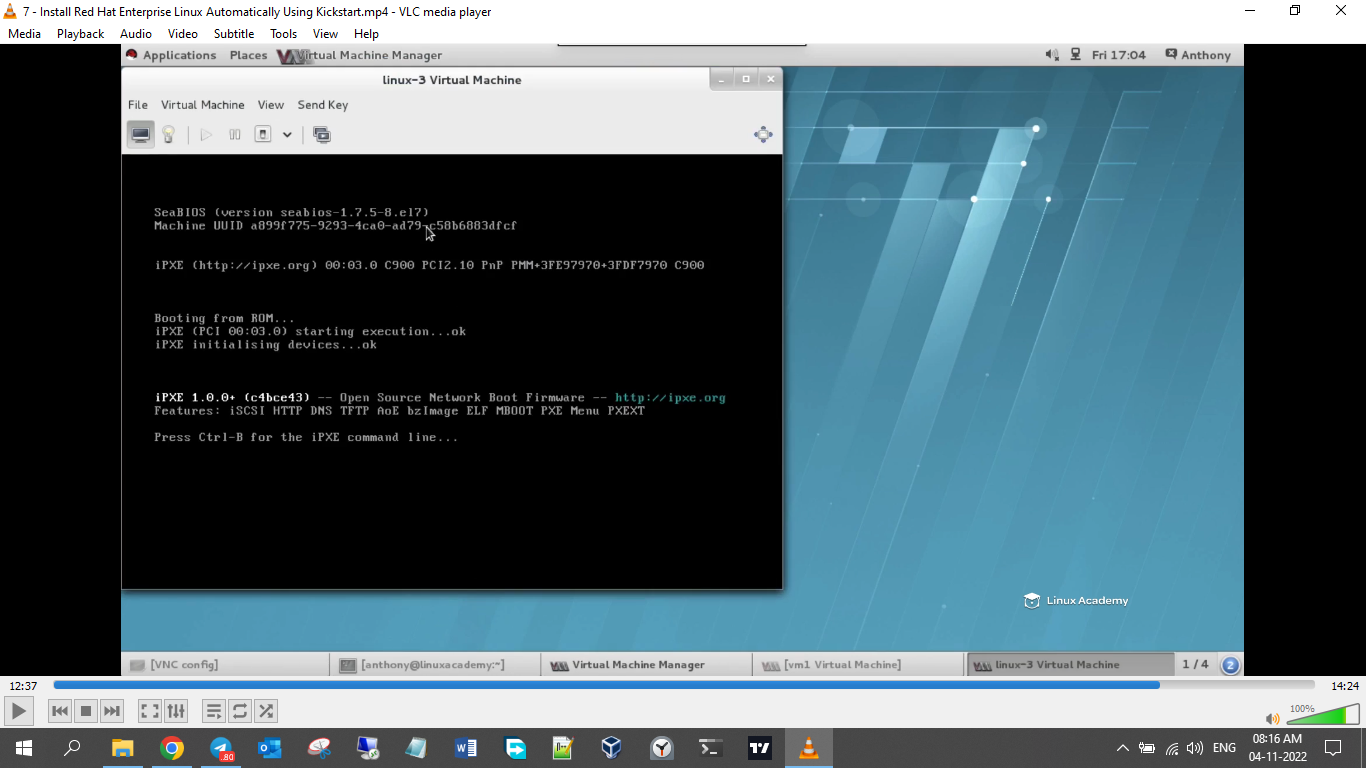
Install Red Hat Enterprise /centos Linux Systems as Virtual machine on linux server
open GUI virtual machine manager
Click add new virtual machine

local install
download iso to local machine
select local media
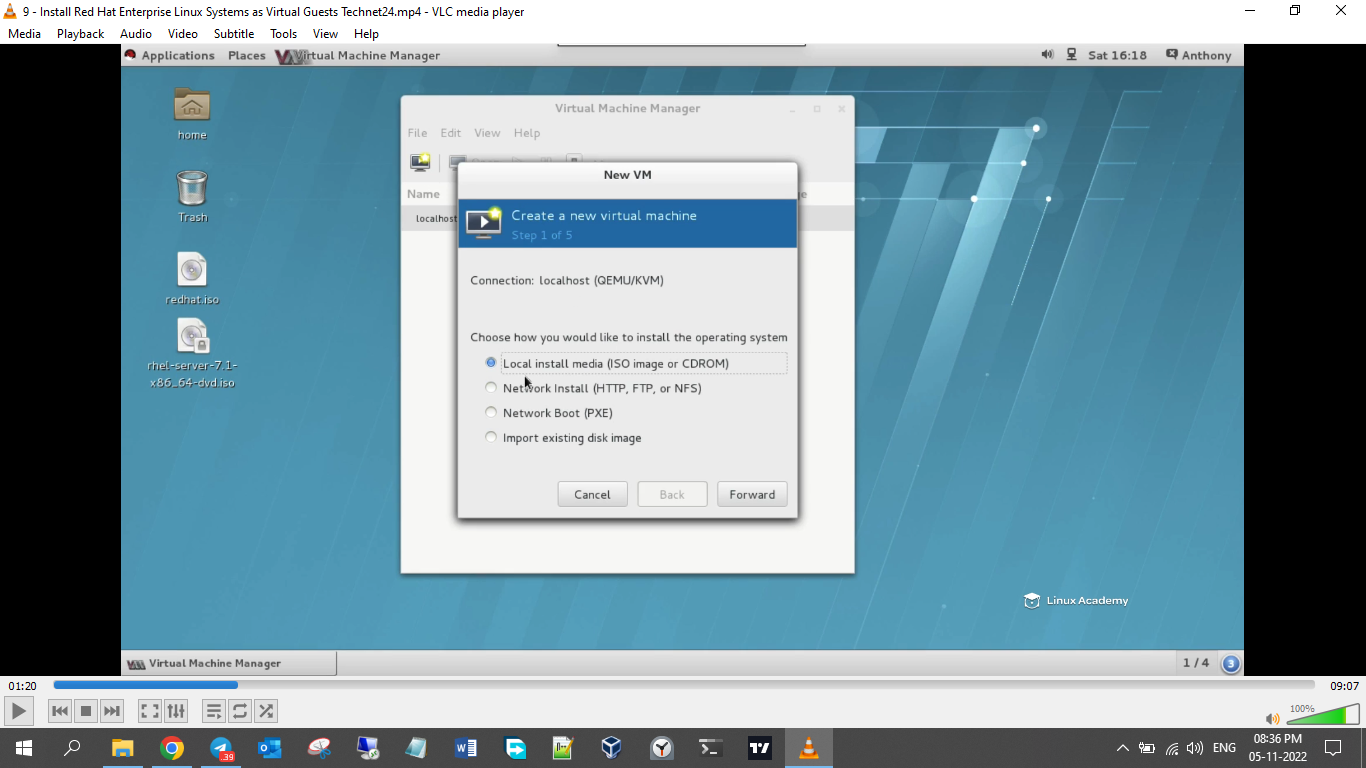


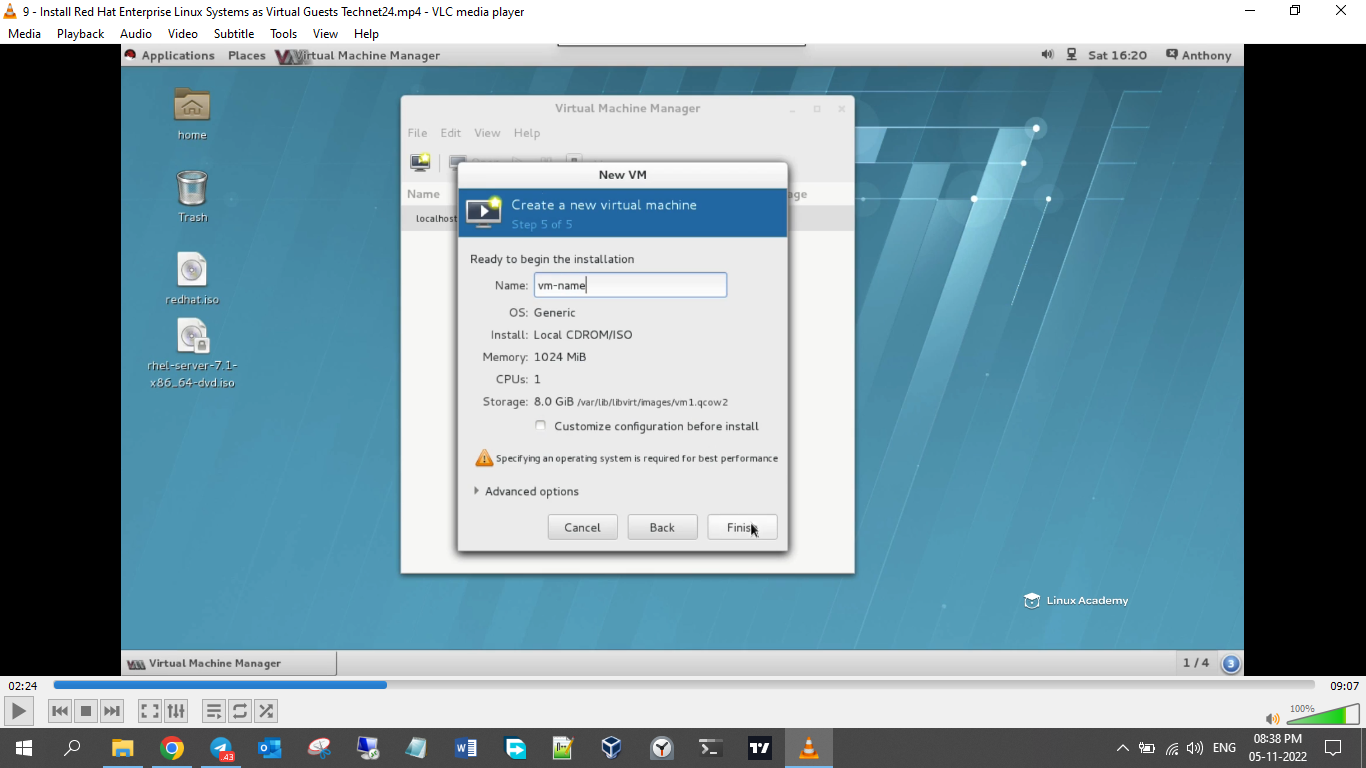
install from PXE server


—-----------------------------------------------------------------------------------------------------------------------------
Configure Network Services to Start Automatically at Boot
in networking with linux we have to care for 3 scenarios
1 NIC cards are up
2 systemctl status network is up
3 services like nginx and apache are up
to check network autoconnect on boot is enabled or not we have to
cd /etc/sysconfig/network-scripts
nmcli con show
check the name
cat ifcfg-<name>
check onboot information
if no is set on onboot to make it yes
command
nmcli con mod “<name>” connection.autoconnect yes
or open the file and set
ONBOOT=yes
then reboot your system for taking effect
—----------------------------------------------------------------------------------------------------------------------------


No comments:
Post a Comment